Export a Public Key From a PFX File
This article provides guidance around how to extract a public key from a .PFX file.
One requirement of Configuring Azure for Microsoft Graph Email Watcher is to upload a public key into an Azure application. This document explains one method to accomplish this.
Assumption: You have already generated a password-protected .pfx archive file holding an X.509 public key certificate and X.509 private key.
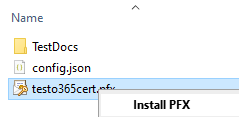
1 - In the file browser, double click on your .pfx file to start the import process. Alternatively you can right-click and choose Install PFX. This will open the Certificate Import Wizard.
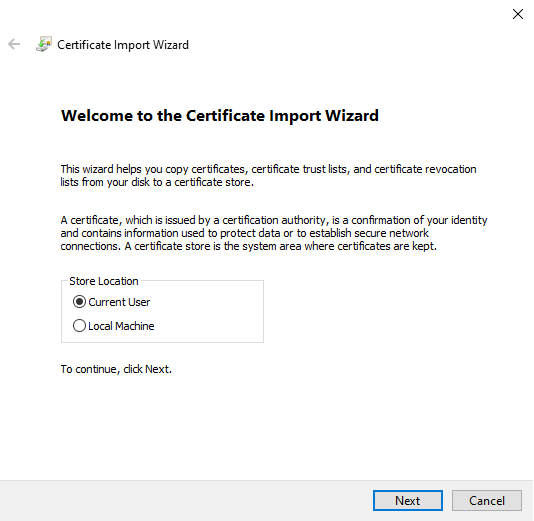
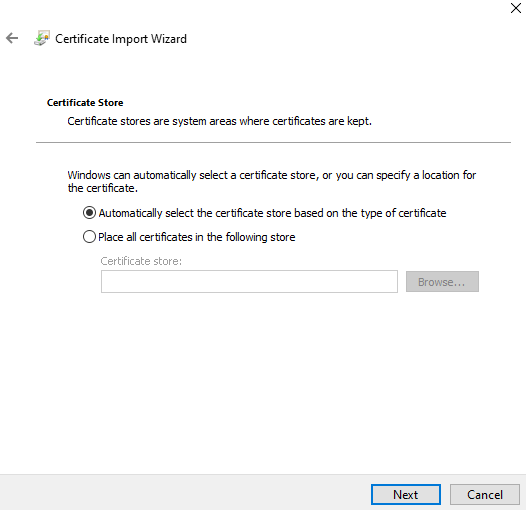
2 - Importing into the current user store should be sufficient. Click "Next".
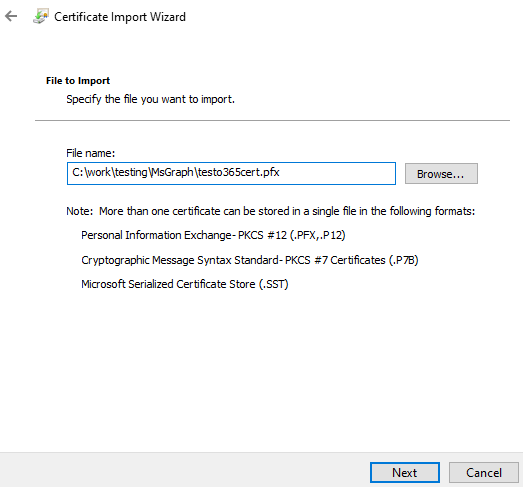
3 - The path should be automatically filled in. Click "Next" again to proceed to the proceeding step.
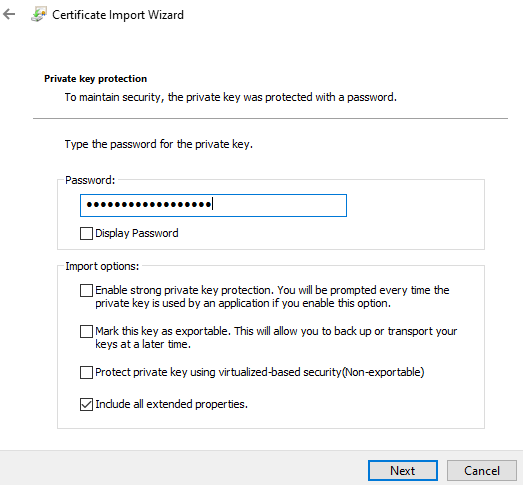
4 - Enter the password associated with the PFX file and click "Next". The default Import options shown below should suffice.
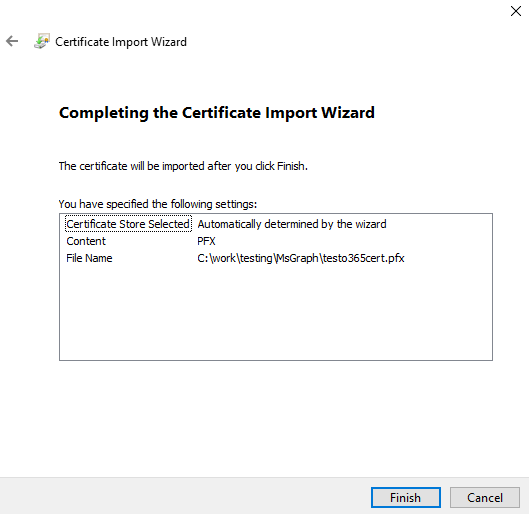
5 - Click "Next" again
6 - Click "Finish"
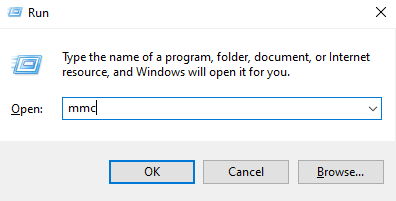
7 - Open up the Microsoft Management Console
[Win+R] -> mmc -> Enter
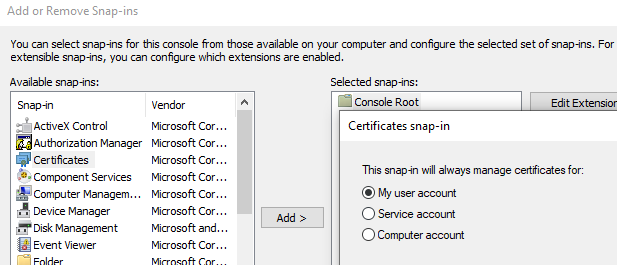
8 - Click on "File" -> "Add/Remove Snap-in..."
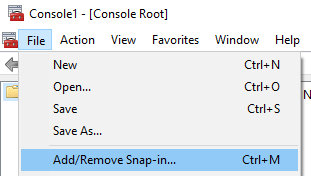
9 - Click on Certificates, click "Add" and choose "My user account" and click "Finish".
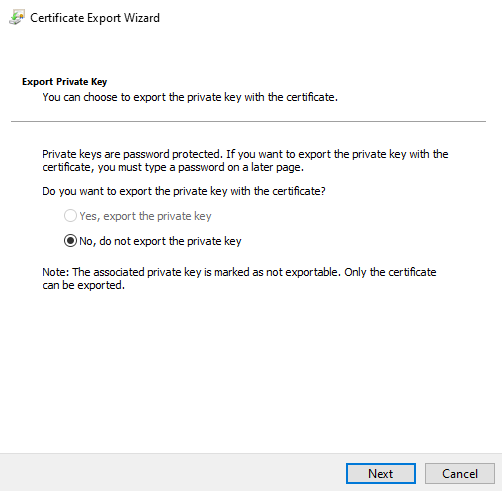
10 - Navigate to the certificate, right click "All Tasks" -> "Export..."
Choose "No, do not export the private key" and click "Next".
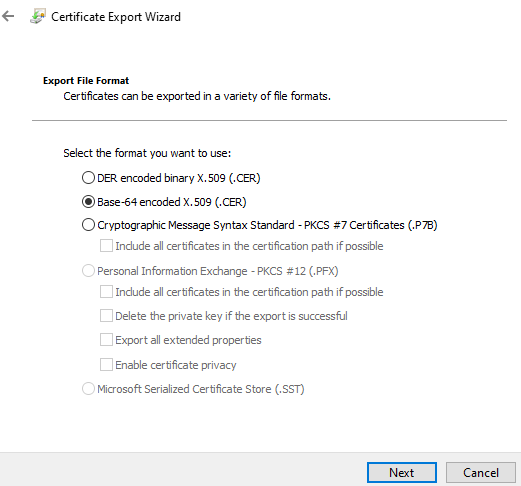
11 - Select "Base-64 encoded X.509 (.CER)" and click next
12 - Select a location to save the document. This is the public key you will upload in Step 3.2 of Configuring Azure for Microsoft Graph Email Watcher.