Configure Platform Authentication via Auth0
This document describes how to set up an app under your Auth0 account that Flowgear will use to authenticate users signing in to the Console. When configured, users that do not exist within your Auth0 account will not be able to sign in. Note that permissions for users are still managed within Flowgear.
Follow these steps to provide the required information to Flowgear when setting up your account.
Steps
Create an Auth0 account.
Once a Tenant has been created navigater to the Auth0 dashboard. Create an Application of type 'Regular Web Applications' (Applications → Create Application).
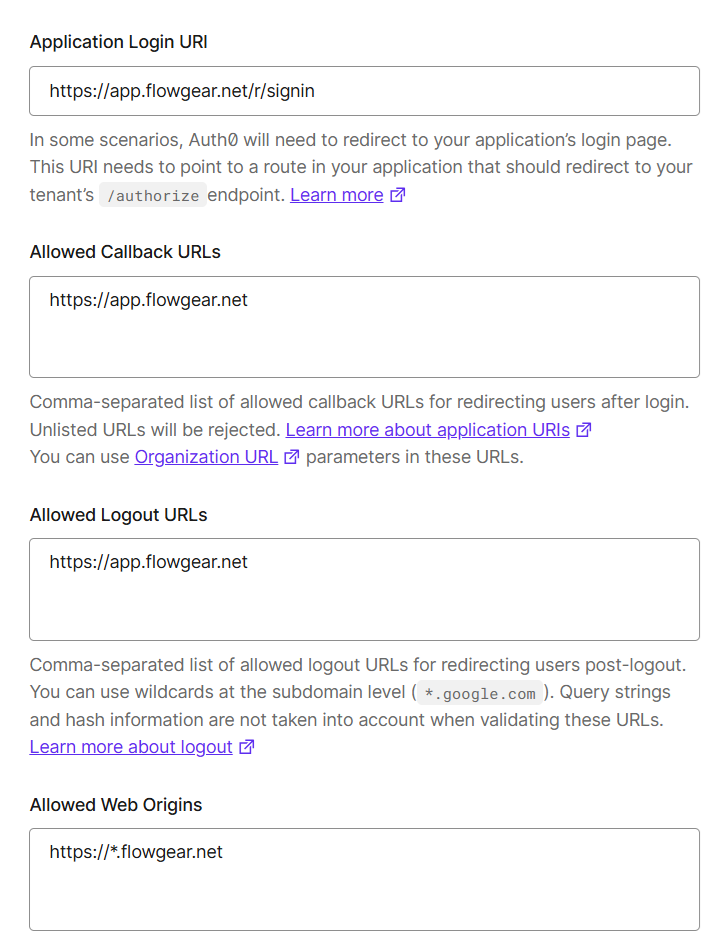
Update the Application URIs settings:
- Set the Application Login URI to
https://app.flowgear.net/r/signin - Set the Allowed Callback URL's to
https://app.flowgear.net - Set the Allowed Logout URL's to
https://app.flowgear.net - Set the Allowed Web Origins to
https://*.flowgear.net
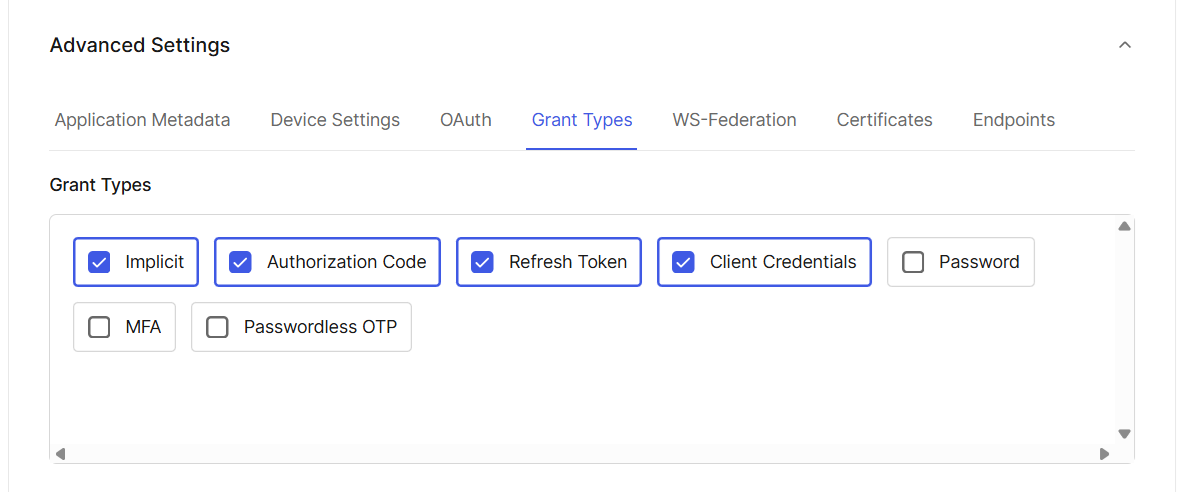
- Ensure the following grant types are set in Advanced Settings:
- Implicit
- Authorization Code
- Client Credentials
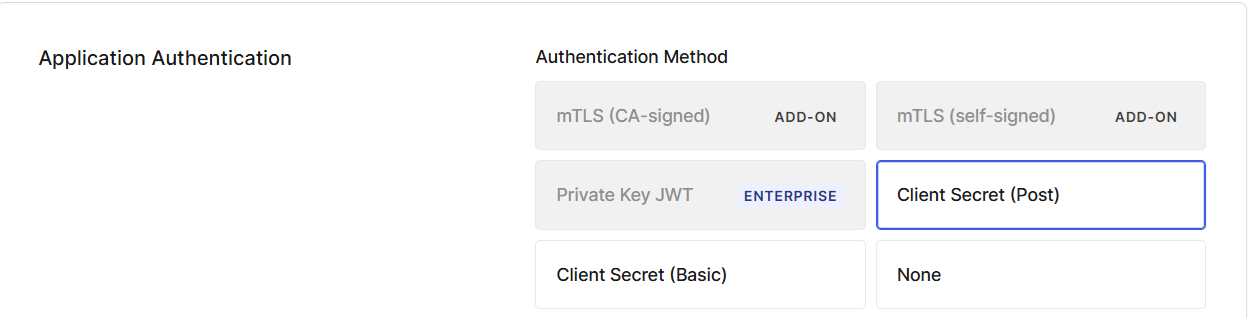
- Ensure Application Authentication Method is set to Client Secret (Post)
Create a new connection. If using a free acount a Database Connection can be setup. Navigate to Authentication → Database Connections → Create Database Connection. Ensure Email Address is set as one of user identifier attributes.
Add users as needed. Navigate to User Management → Users → Create User.
In the previously created Application navigate to the Connections tab and ensure Username-Password Authentication Connection is enabled.
Provide the following details to the Flowgear team. This requires a restart in order to be applied:
- The Auth0 instance URL which is the base URL for the Auth0 Tenant. Can be found in the Application → Advanced → Endpoints section.
- The Client ID and Client secret to the Flowgear team (found in the Settings for the created Application), so that Auth0 can be configured for the Tenant.
See also
Configure Platform Authentication via Microsoft ID
Configure Platform Authentication via Google ID