Connect Flowgear MCP to ChatGPT
This document describes the steps to connect a Flowgear MCP Server to ChatGPT.
Requirements
- ChatGPT plan with Custom MCP Connectors (MCP) - Custom connectors are available to Pro users and to Business, Enterprise, Edu workspaces. ChatGPT Plus only supports custom connectors on ChatGPT Web. Some connectors are unavailable in the EEA, Switzerland, and the UK. See more information here: Connectors in ChatGPT
- ChatGPT plan with Developer Mode - Available in beta to Pro and Plus accounts on the web.
Steps
Sign in to ChatGPT.
Enable Developer Mode - Navigate to the settings page by clicking on your profile icon and selecting
Settingsfrom the dropdown menu. Once there, click on theAppssection in the sidebar. Then, click onAdvanced settings. Ensure thatDeveloper modeis enabled.
Download the Flowgear icon to be used when creating the connector: Open Flowgear Icon (Optional)

Create the Flowgear MCP Connector - Navigate to the settings page by clicking on your profile icon and selecting
Settingsfrom the dropdown menu. Once there, click on theAppssection in the sidebar. Then, click theCreate appbutton. Configure your Connector as desired, with an appropriate name and an optional icon and description. TheMCP Server URLis predetermined based on the Site and Environment Host name. The Host name can be retrieved by navigating to theEnvironmentssection inSite Settingsin the Flowgear Console and has the following structure:https://{environmenthostname}/mcp. Ensure thatOAuthis selected for theAuthentication. Then, tick that you trust this application, and clickCreate.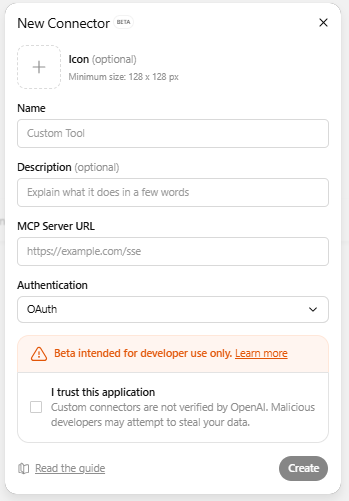
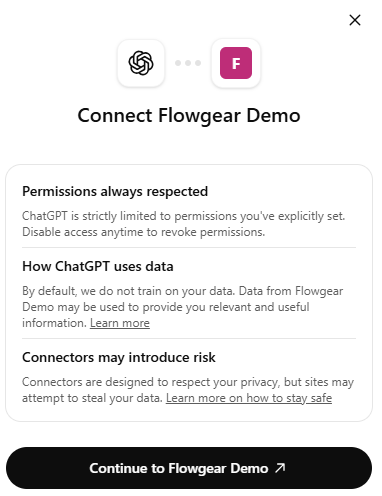
Connect the MCP server (Complete Authentication) - Follow the authentication prompts provided by the server.

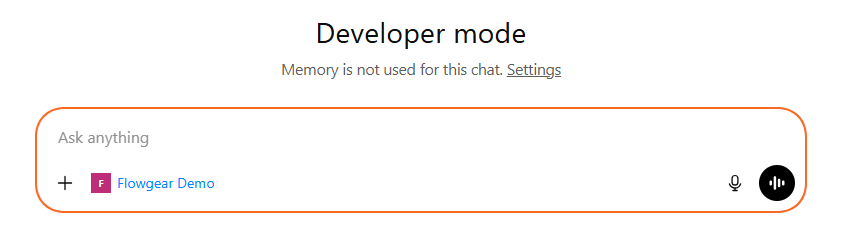
Open a new chat. Connect the MCP server in this chat by clicking the
+button, thenMore, and clicking the newly connected MCP server (based on the name provided in Step 3). This is only possible if Developer Mode is enabled.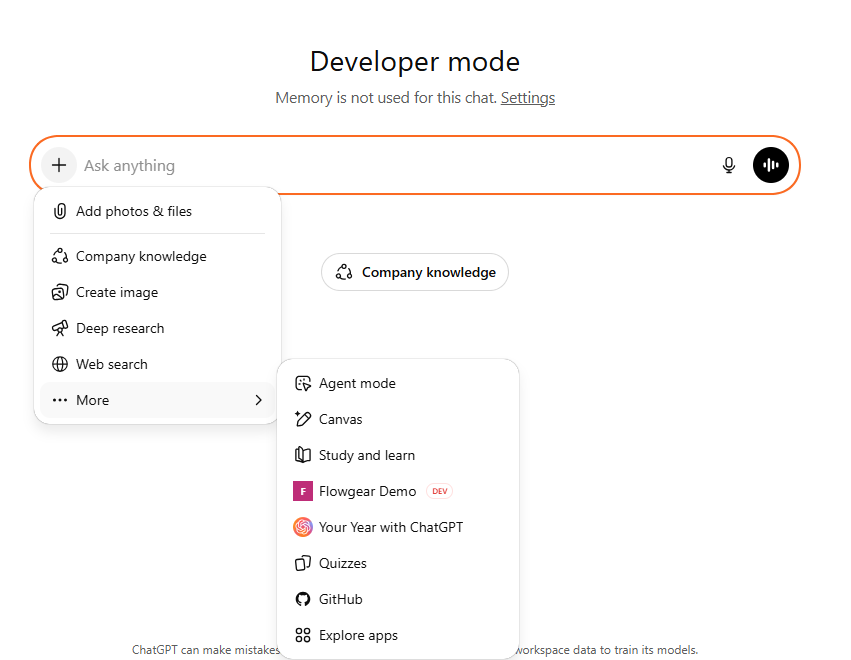
Now, you should have successfully connected ChatGPT to your remote Flowgear MCP Server, and can explore its capabilities in your conversations. For ChatGPT, you may need to explore different prompting techniques to call the correct tools. You can choose to remember the approval or denial choice for a given tool for a conversation, which means it will apply that choice for the rest of that conversation. Any new conversations will prompt for that confirmation again. Refreshing the same conversation will also prompt for confirmation again on subsequent turns.
See also
Flowgear MCP Server
Enable a V1 Workflow as a MCP Tool
Connect Flowgear MCP to Claude
Connect Flowgear MCP to Claude Code
Read more
Model Context Protocol
ChatGPT Developer Mode - Full MCP client access for connectors and tools.