Local Runtime - Create Cluster
A local Cluster must be registered in the Flowgear Console before a local Runtime can connect to it. This article walks you through creating a new local Cluster and trusting its certificate.
Prerequisites
- You must be signed in to the Flowgear Console.
- You must have a certificate file ready to upload. This is generated during the Local Runtime setup step.
Tip: You can create the Cluster first, then complete the certificate trust step after running the setup tool.
Step 1: Open the Local Clusters Page
Navigate to the Local Clusters section in the Flowgear Console.
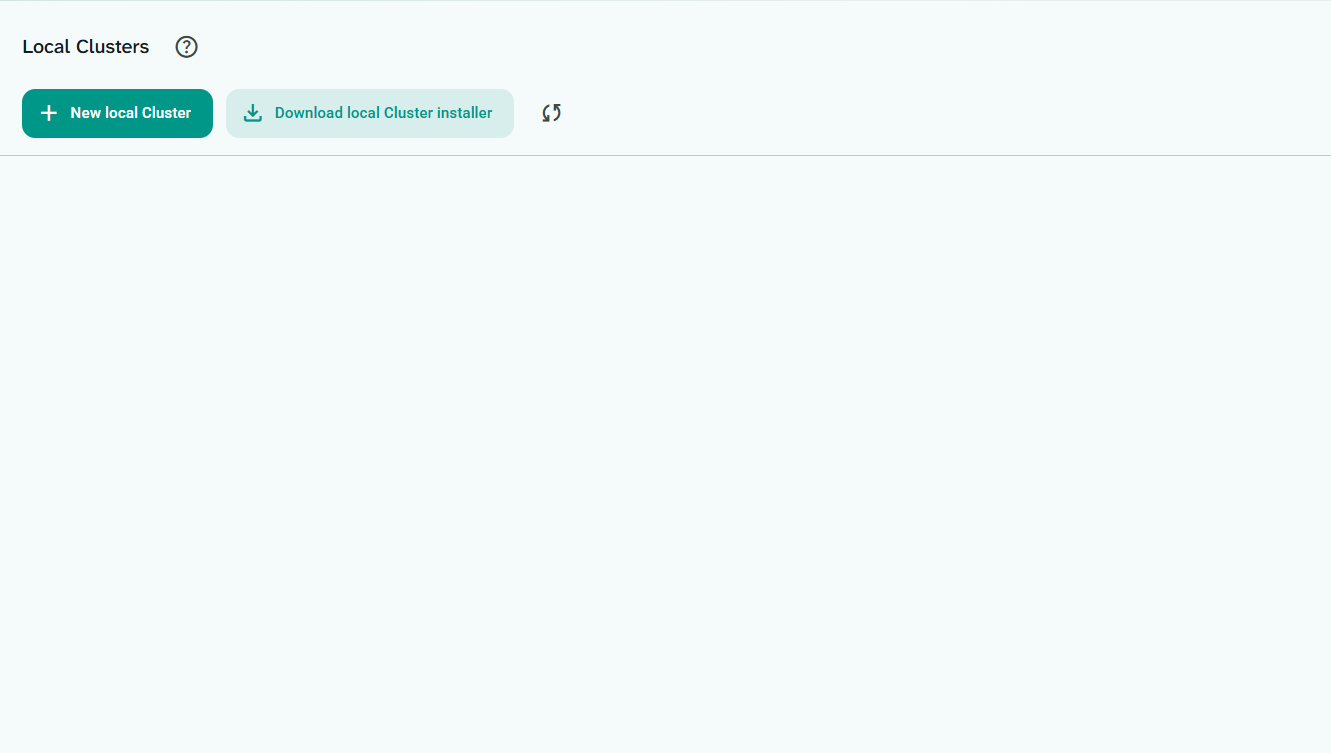
Step 2: Create a New local Cluster
Click + New local Cluster.
In the dialog that appears, enter a Name for the Cluster, select a list of Environments and optionally provide a Description, then click Save.
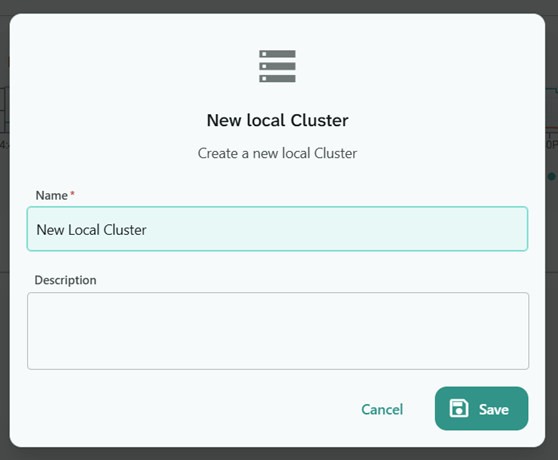
Once saved, the Cluster will appear in the list. Take note of the Cluster Key (GUID) displayed — you will need this during the Local Runtime Setup.
Step 3: Trust the Certificate
After running the Local Runtime setup tool, you will have a certificate file exported from your local machine. This certificate (.cer) must be uploaded to the Cluster so that Flowgear can trust connections from your Local Runtime.
On the Cluster entry, click the Trust certificate icon (shield icon).
In the dialog that appears, drag and drop your certificate file onto the upload area, or click Choose file to browse for it.
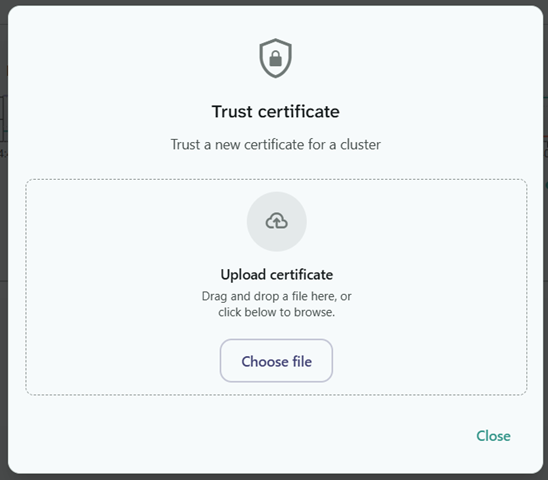
Once uploaded, the certificate thumbprint will be displayed on the Cluster entry, confirming the trust has been established.

Next Steps
With the Cluster created, you are ready to install and configure the Local Runtime on your machine.