Local Runtime - Setup
After installing the Flowgear local Runtime, you must run the Flowgear local Runtime Setup tool to configure the Runtime and connect it to your local Cluster. This tool handles certificate creation, configuration file generation, and starting the Windows service.
Prerequisites
- The Flowgear local Runtime has been installed.
- A local Cluster has been created in the Flowgear Console.
- Your Cluster Key and Site Key (both GUIDs) are available from the Flowgear Console.
- Administrator privileges on the machine.
Step 1: Run the Setup Tool
Open the Start Menu and click Flowgear local Runtime Setup.
Alternatively, run
Flowgear.LocalRuntime.Setup.exedirectly from the installation folder.
The setup tool will open in a terminal window.
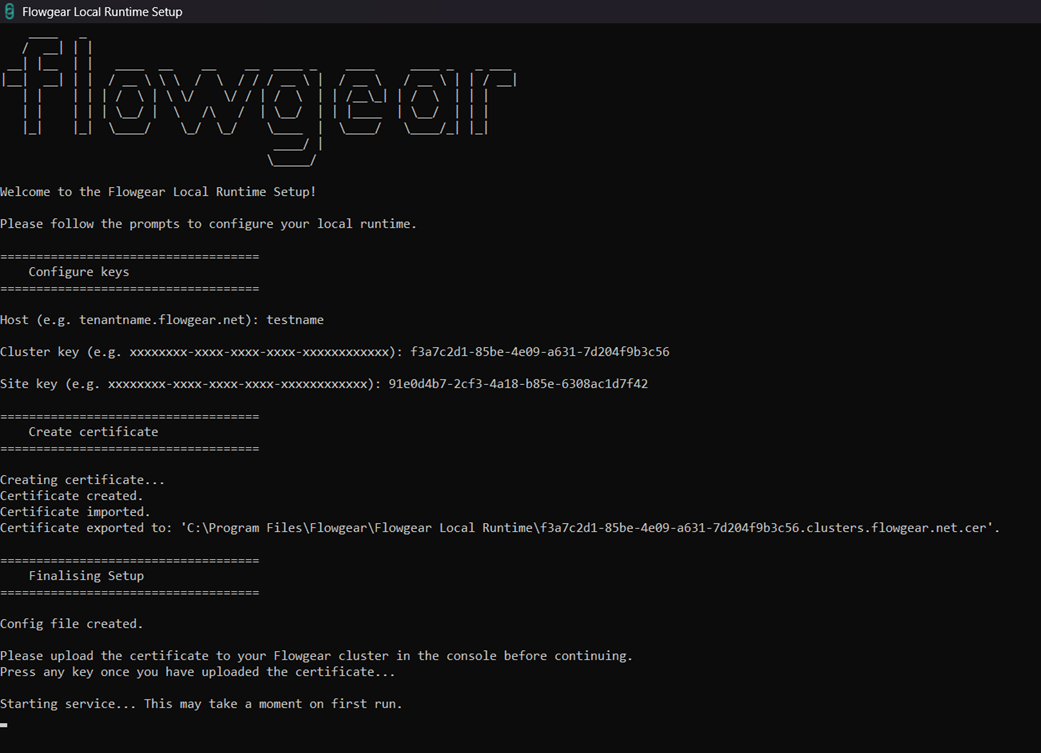
Step 2: Follow the Prompts
The tool will prompt you for the following values. Default values (if a previous configuration exists) are shown in square brackets — press Enter to accept them, or type a new value.
| Prompt | Description |
|---|---|
| Host | Your Flowgear tenant hostname, e.g. tenantkey.flowgear.net, where tenantkey is the subdomain you use to sign into the platform. |
| Cluster Key | The GUID for the local Cluster, found in the Flowgear Console. |
| Site Key | The GUID for your Flowgear Site, found in the Flowgear Console. |
| Environment Keys | The GUID's for your Flowgear Environment, found in the Flowgear Console. |
Note: If a configuration already exists, the tool will warn you that continuing will overwrite it and restart the service. Enter
yto proceed.
Step 3: Certificate Creation
The tool will automatically check for an existing valid certificate. If none exists, it will create a new self-signed certificate and install it into the Windows certificate store.
Once the certificate is ready, the tool will prompt you to upload it to your local Cluster in the Flowgear Console before continuing:
Please upload the certificate to your Flowgear Cluster in the console before continuing.
Press any key once you have uploaded the certificate...
At this point, follow these steps:
- Locate the exported certificate file created during setup.
- In the Flowgear Console, navigate to your local Cluster and click the Trust certificate icon.
- Upload the certificate file. See Create a local Cluster – Step 3 for details.
- Return to the setup terminal and press any key to continue.
Step 4: Service Start
The tool will finalise the configuration and start (or restart) the FlowgearLocalRuntime Windows service.
When setup completes successfully, you will see:
Setup complete.
Your Flowgear local Runtime is now configured and running.
Troubleshooting
Access is denied
Run the setup tool as Administrator.
Service fails to start
Check Windows Event Viewer for details about the service failure.
Certificate export fails
Manually export the certificate from Windows Certificate Manager and upload it to the Flowgear Console.
The Runtime does not come online after setup
Check the log files in the installation folder for crashes or critical errors. Attempt to restart the service manually or re-run the setup tool.
See also
Create a local Cluster
Install a local Cluster
Local Runtimes Overview